POD (Print on Demand)/Altered Book Challenge
Last winter I accepted a challenge, artists were asked to create a book for printing by a POD (Print on Demand) company of our choosing , alter the book and document the process with photos. Great idea in concept however I doubt I will ever work this particular way again. At least I’m certain I won’t screw up the semi-expensive paper back in quite the same way!
The final result is a drastically different book than the first rendering as a simple photo book. This rendering invites the viewer to adjust their eyes and look carefully at the slightly out of focus pages that comment on the ugly side of America’s love affair with the automobile. Fast & Shiny scanned book
Several of my original concepts never ever made it the POD stage but Fast & Shiny book did, and I chose Blurb for the POD. The plan was to take apart the Blurb printed book alter it with transferred text and to rebind it with a woven spine. What really happened was completely different.
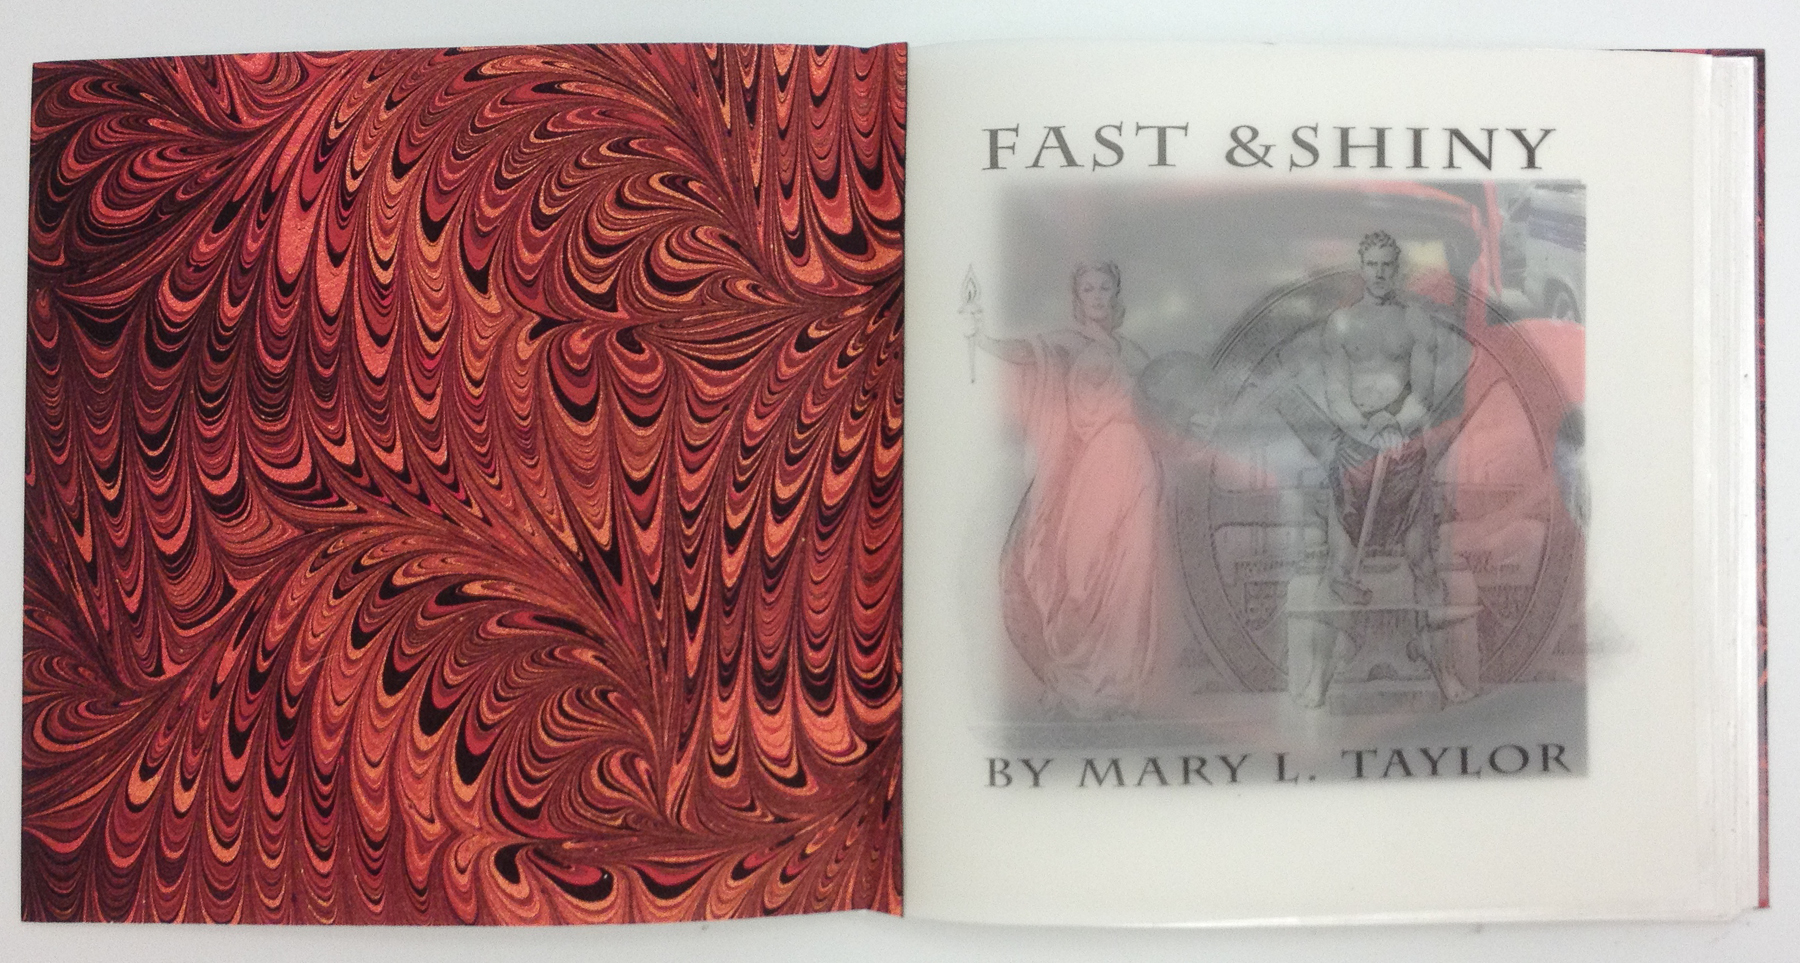
Added title page and colorful end sheet.
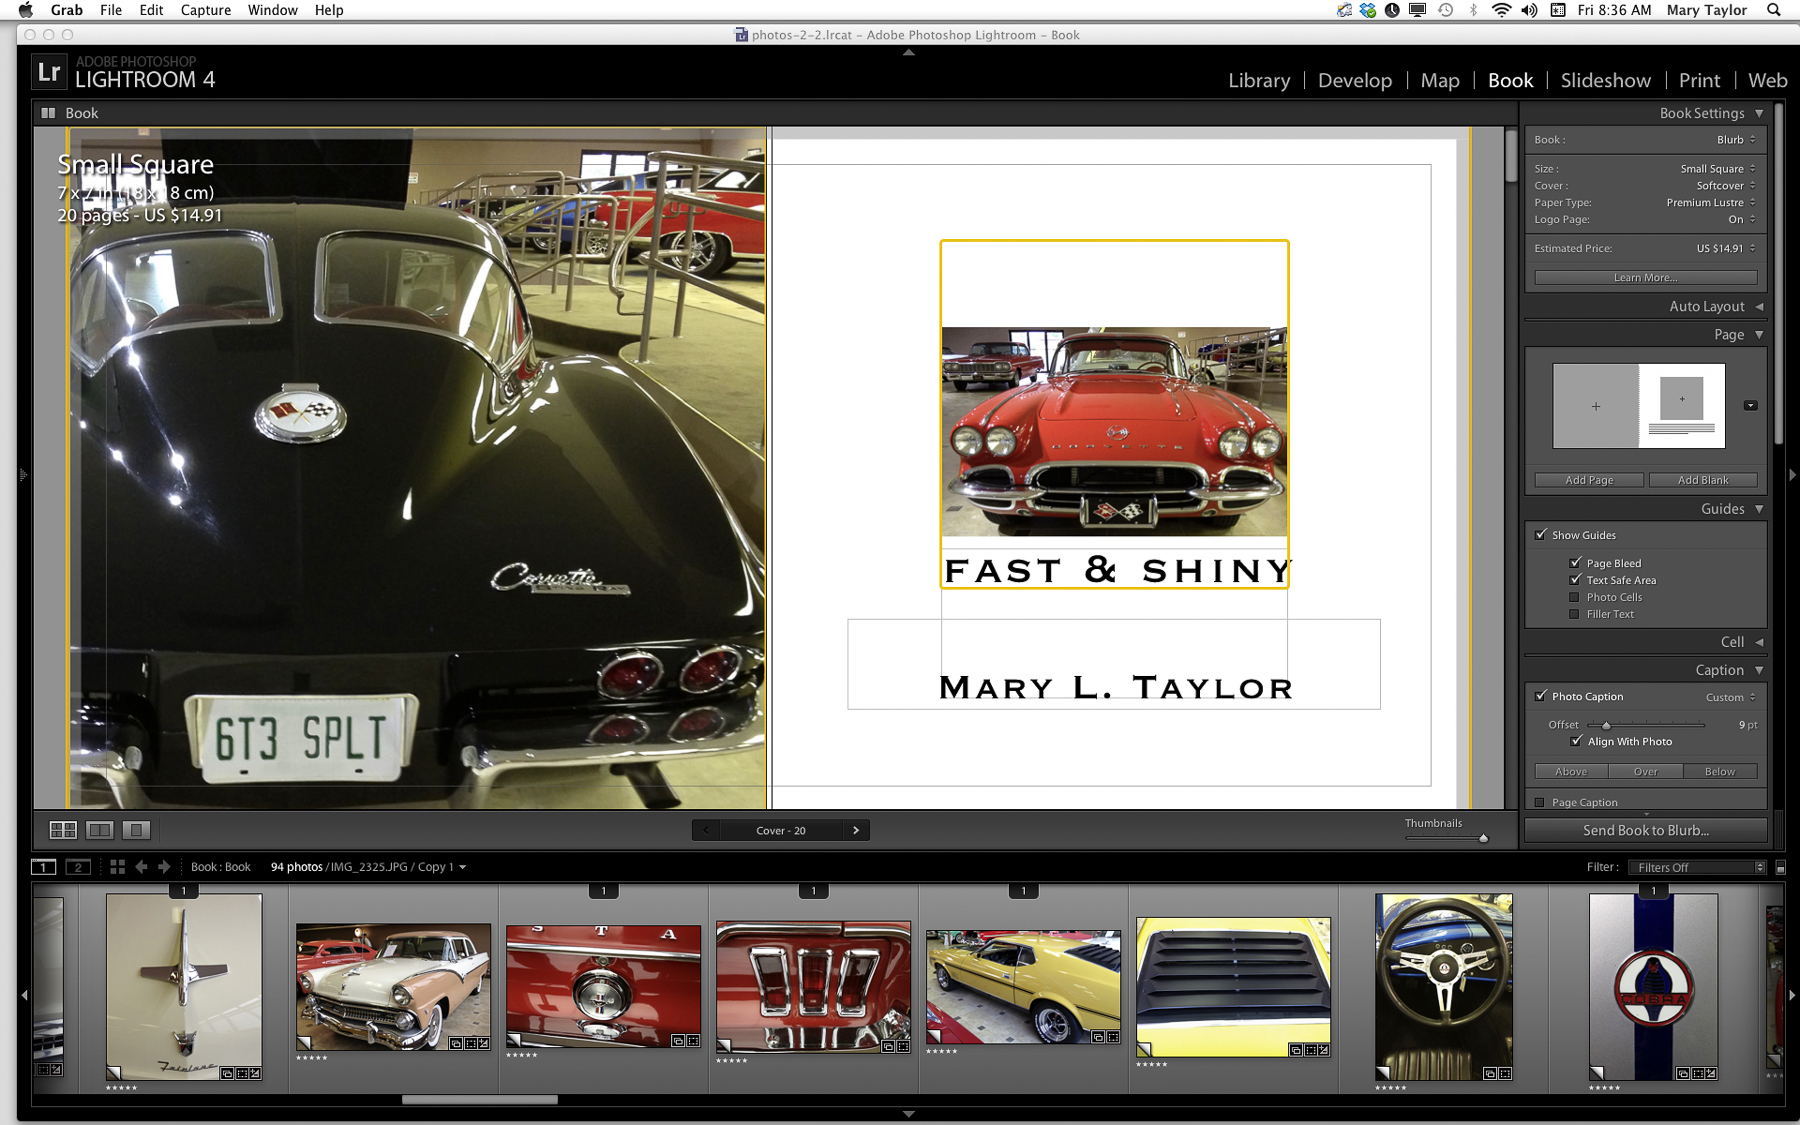
The book was virtually assembled using the Blurb Lightroom plugin, choosing simple layouts and adding photographs taken with my iPhone. When the 20 pages were set up (with plenty of white space) the book was uploaded directly to Blurb from Lightroom. In addition to uploading directly to Blurb for printing the plugin will export the pages as individual jpgs or all the pages as a single pdf file.
Once the sterile (by design originally) Blurb print book arrived, I dismantle it and trimmed the pages to 6.5” x 6.5” and all but destroyed it.
I damaged many of the pages while getting the book apart.
The Blurb printed covers were discarded with the bits cut away to square up the pages. I really botched up the pages by first trying to get them apart with heat, I put the freshly printed book into my drymount heat press thinking heat would loosen the glue used to create the perfect binding. (blonde moment) WRONG! I melted the pages onto each other and the most saturated images transfered ink to the opposite pages. Ultimately I got the pages apart and thought the sterile pages were now more interesting and offered possibilities to continue. So I carried on.
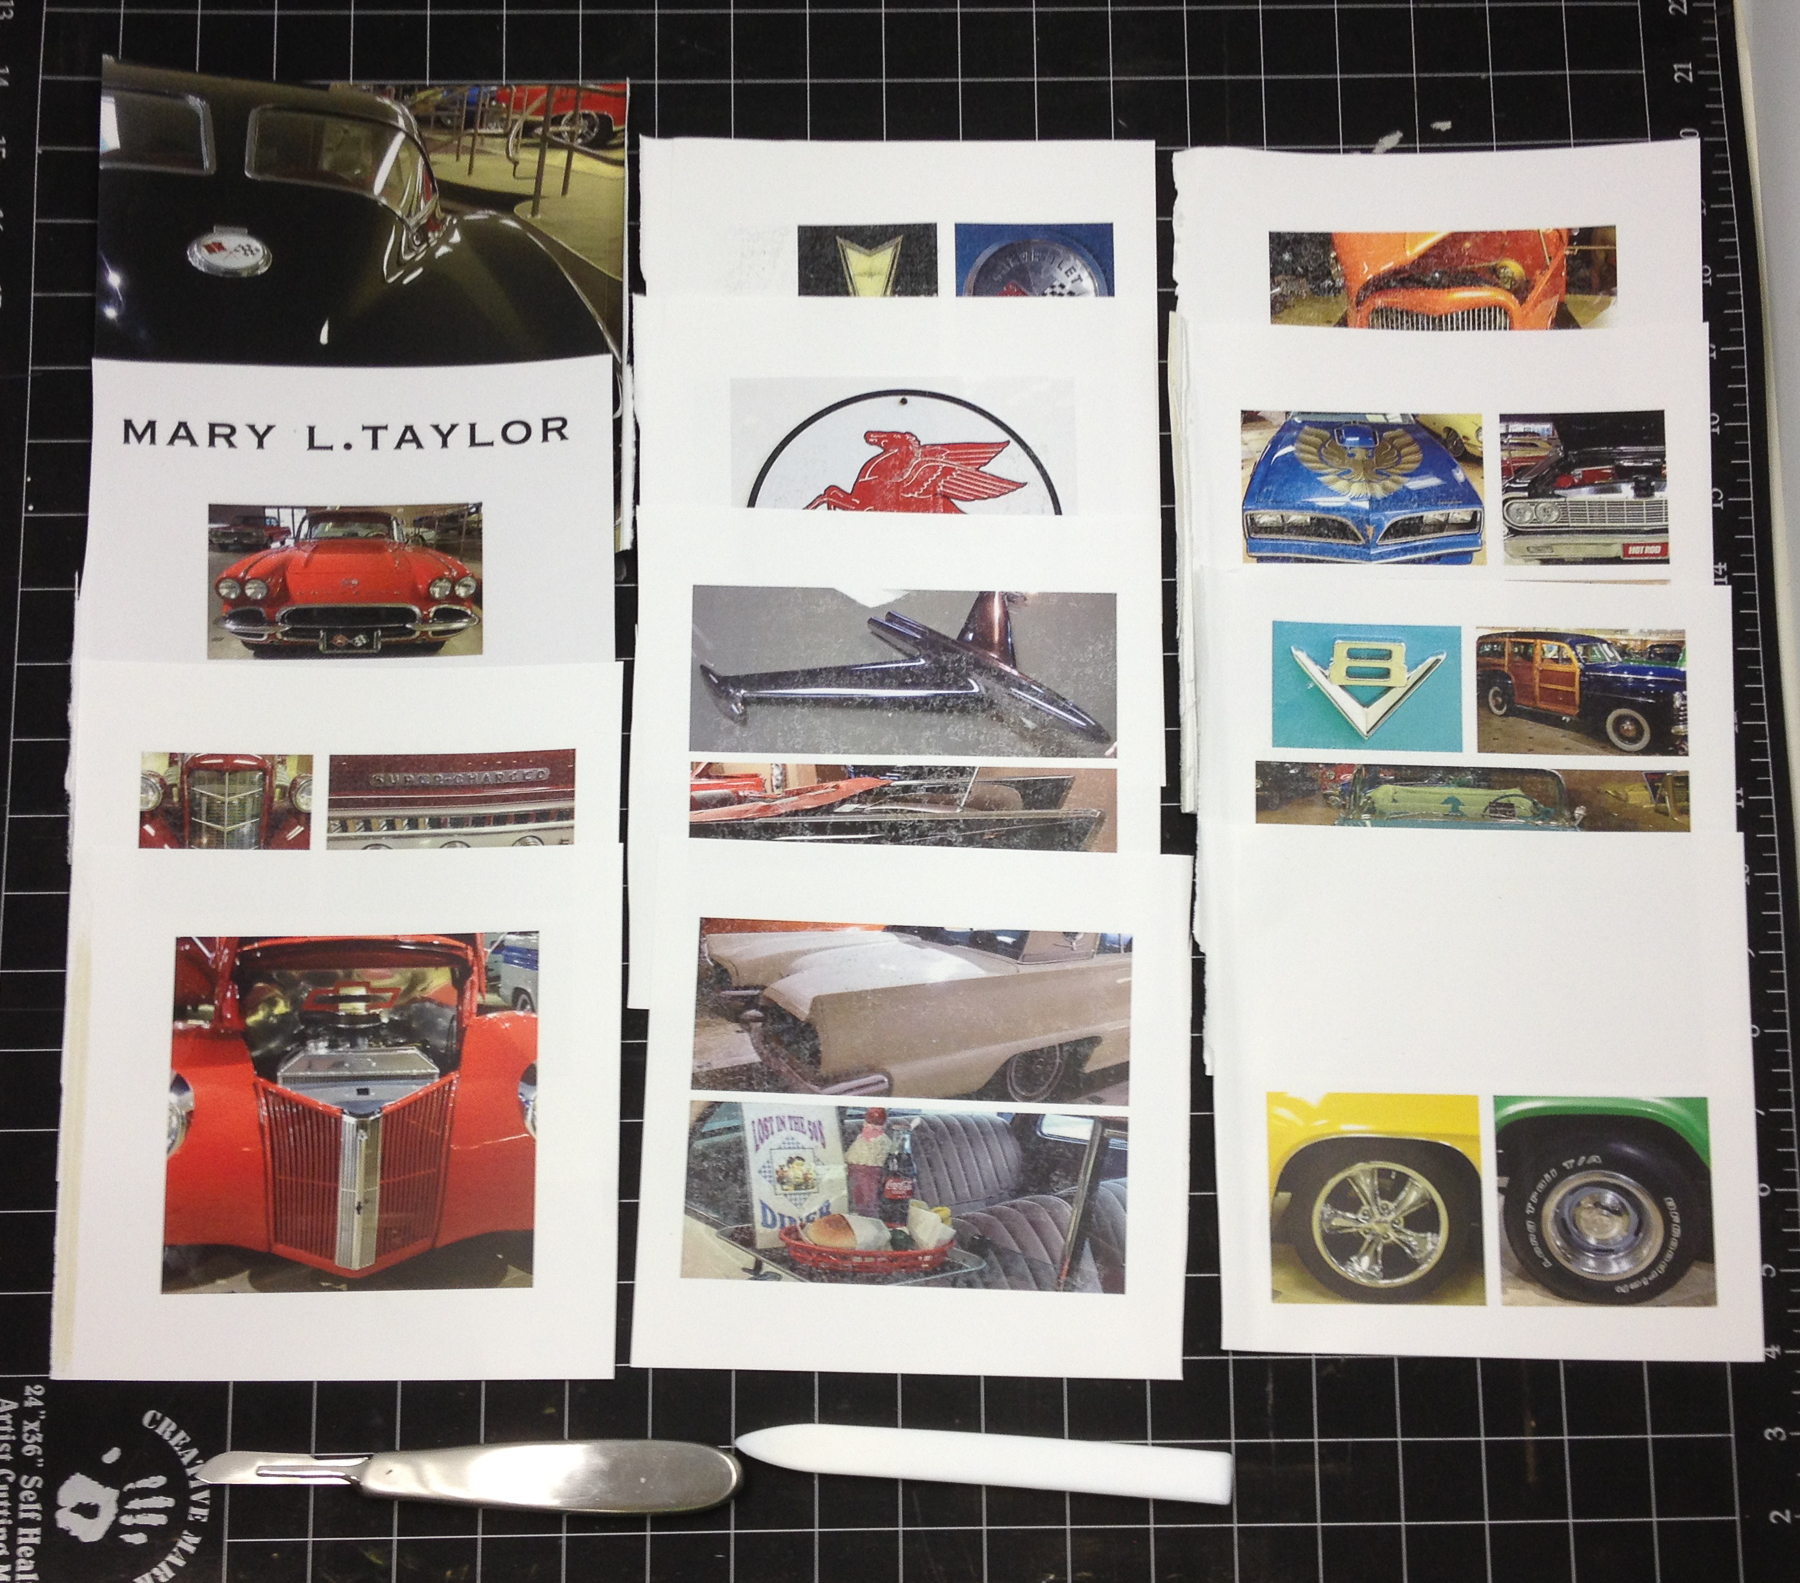
 From Lightroom I used the export to jpg feature to export the 20 single pages and images and then opened in all the images in Photoshop. Next I created one Photoshop file with all the pages on separate layers. The book page images were all trimmed to 6.5 inches wide and 6.5 high. I cropped only the spine side & top of each page as I had trimmed the physical pages in the same way. I now had a Photoshop file that very closely matched my actual pages.
In Photoshop I added text and images to most of the page layers. One by one each page was changed to tell my story. Using the font Charlemagne Standard, text was added to blank pages, image pages, and I added a title page and a colophon page. I made a separate file to re print the cover and inside fly-leaf pages.
When I had all the layers ready in Photoshop I prepared the Blurb printed pages for overprinting and made a template carrier sheet so I could register the overprints with the Blurb printed pages. The Blurb printed pages were on a bright white premium luster paper that isn’t compatible with inkjet inks and would not receive the inkjet inks for overprinting (PLUS I had screwed up all the pages by heating them). I used inkAID™ pearlescent inkjet pre-coat to prepare the pages for inkjet printing and to improve the appearance of the pages. The pearly inkAID™ warmed up the white pages and without the inkAID™ I could not have rescued my project with inkjet over prints. The pearlescent inkAID™
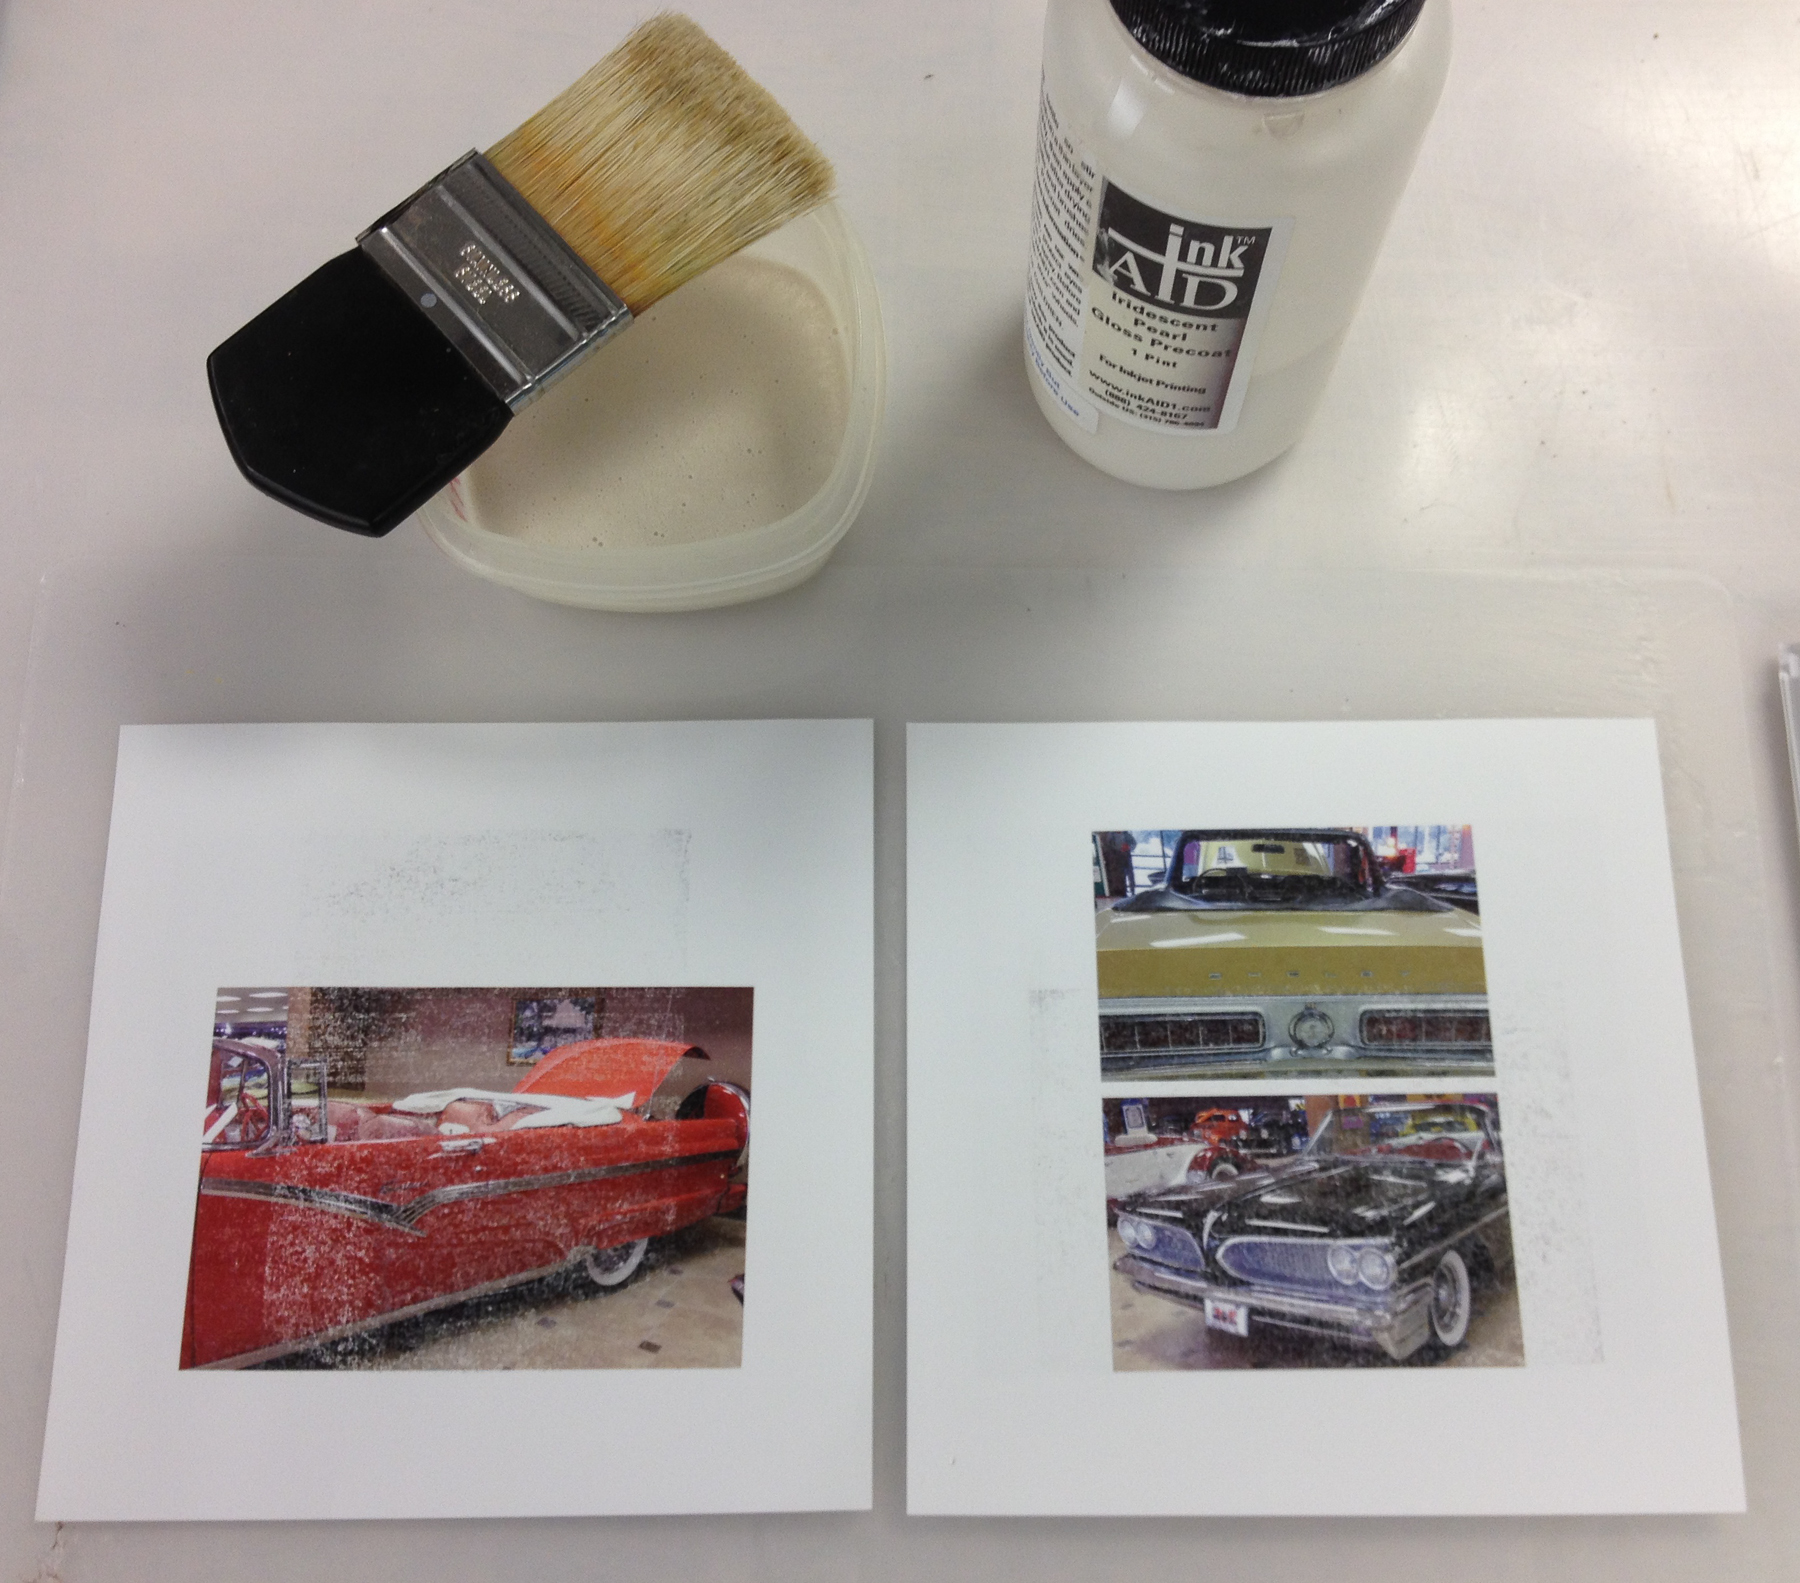
inkAid™ coating rescued the project.
did not completely opaque the Blurb printed images, had I kept coating the pages it would eventually have obliterated the original prints but I wanted to work with the Blurb images and add to them. Once both sides of the pages were coated 2x with the inkAID™ precoat the pages curled, I ironed them to flatten them for overprinting. This time I applied less heat and was successful in getting all the curled pages nice and flat. (I use teflon coated oven mats to iron paper with. The iron never touches the paper only the mats, keeps the iron clean and doesn’t melt anything to paper. These oven mats are designed to collect spills at the bottom of a cook oven and are very handy in the studio. I purchase a dozen of these and leave them in my dry mount press. The seldom need anything but a wipe with damp cloth. They’ve lasted for many years and I expect will still be here when I’m not.)
From a recycle poster I made a 24”h x 12”w carrier sheet template, this is my setup from Photoshop for printing the template then used for overprinting all the single sheet pages. All the pages were layers in the same Photoshop file. The hardest part of this is to remember to turn on and off layers as you print.
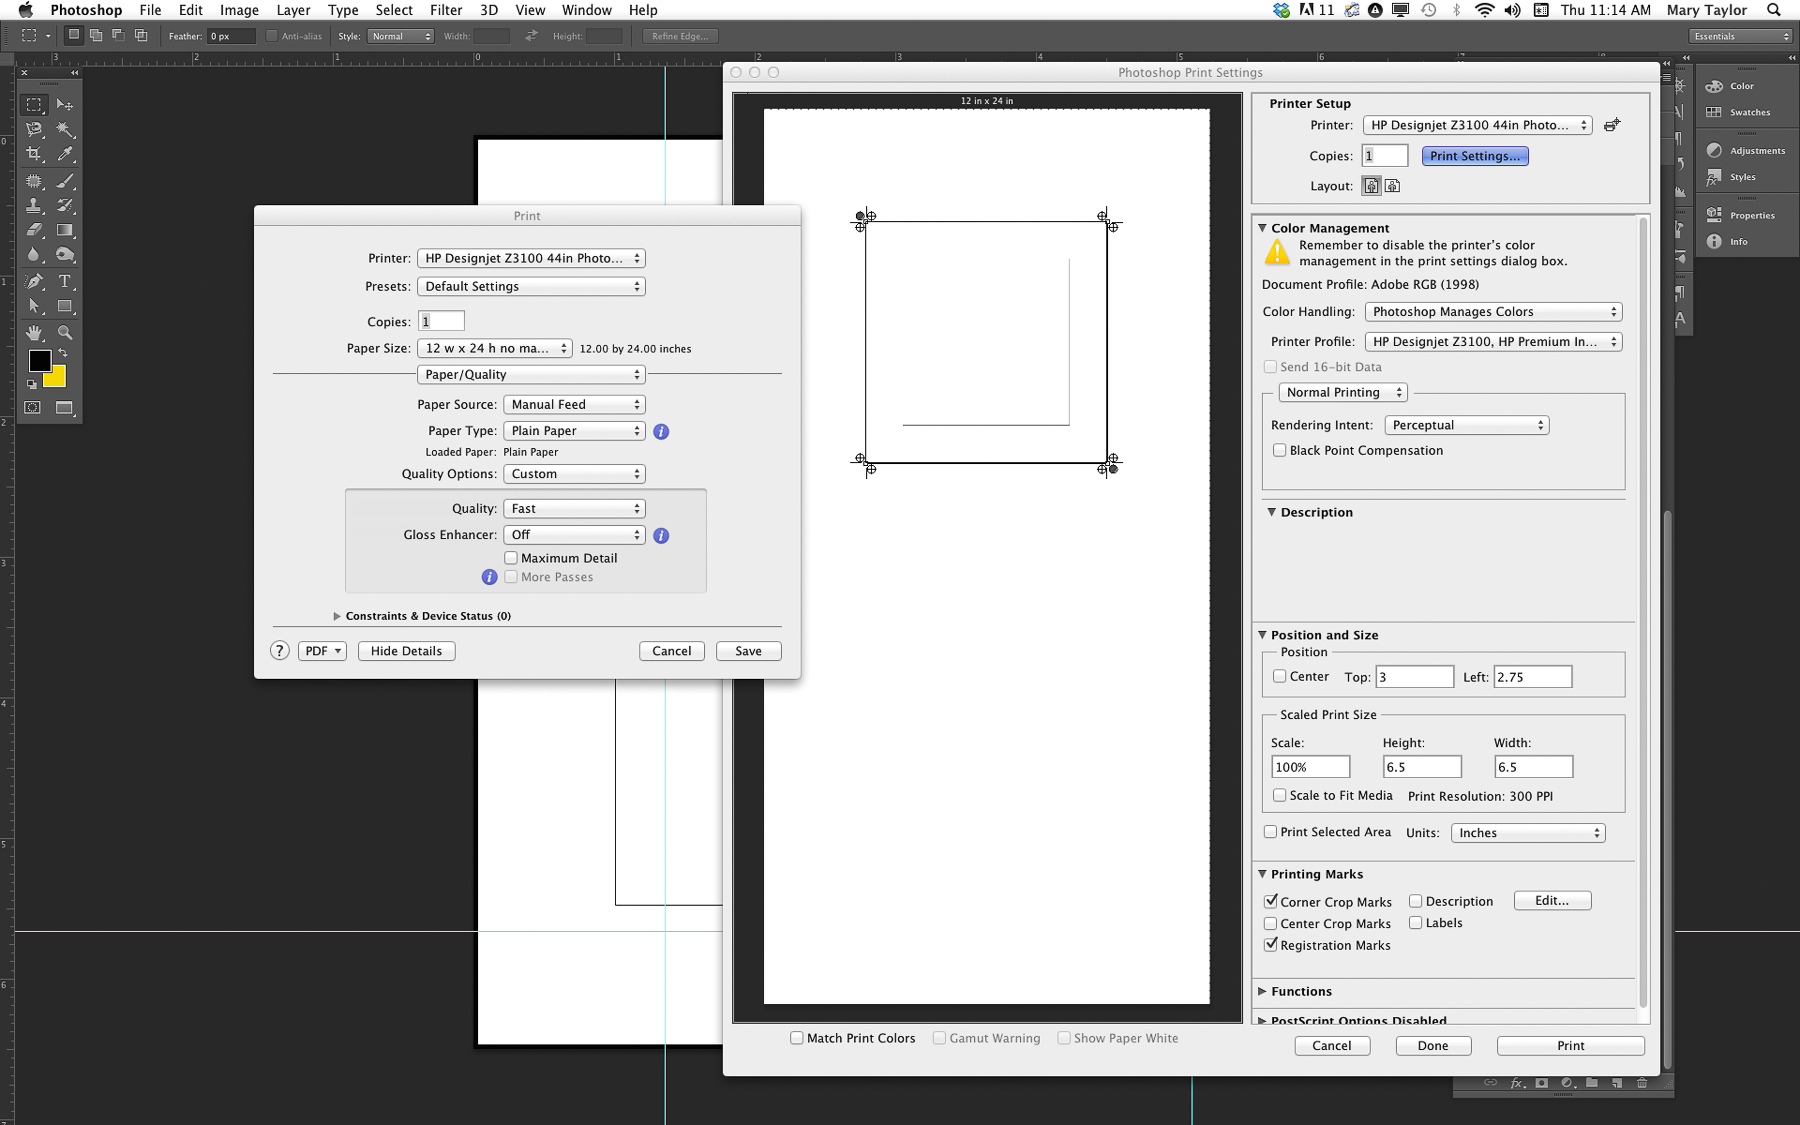
Print Setup for all the single sheets & making the carrier sheet template.
The clean white back of the poster made a perfect carrier sheet template for registration of the overprints. This took time to do but was perfect for getting the small square pages through my wide format HP Z3100 printer. One could do the same with letter sized card stock and a smaller printer. I printed a template onto the carrier sheet by making a new layer in my Photoshop file and stroking to the inside with a 10 pixel stroke. I printed only that layer first to set up the template. To hold the pages in place I used I double sided REMOVABLE tape to hold each of the pages in place for printing. First I tested the template with a blank sheet of paper placed in the square and sent my 1st page to print. The test page printed exactly where I wanted it to, so I continued with the actual pages printing each one using the same template with double sided REMOVABLE tape to gently hold the little square pages in place while I over printed them all by turning on and off layers in the same Photoshop file. When the pages were all printed on one side they were treated with PYMII (Preserve Your Memories II and acrylic post coat) to prevent smudging. Then I continued onto the 2nd sides.
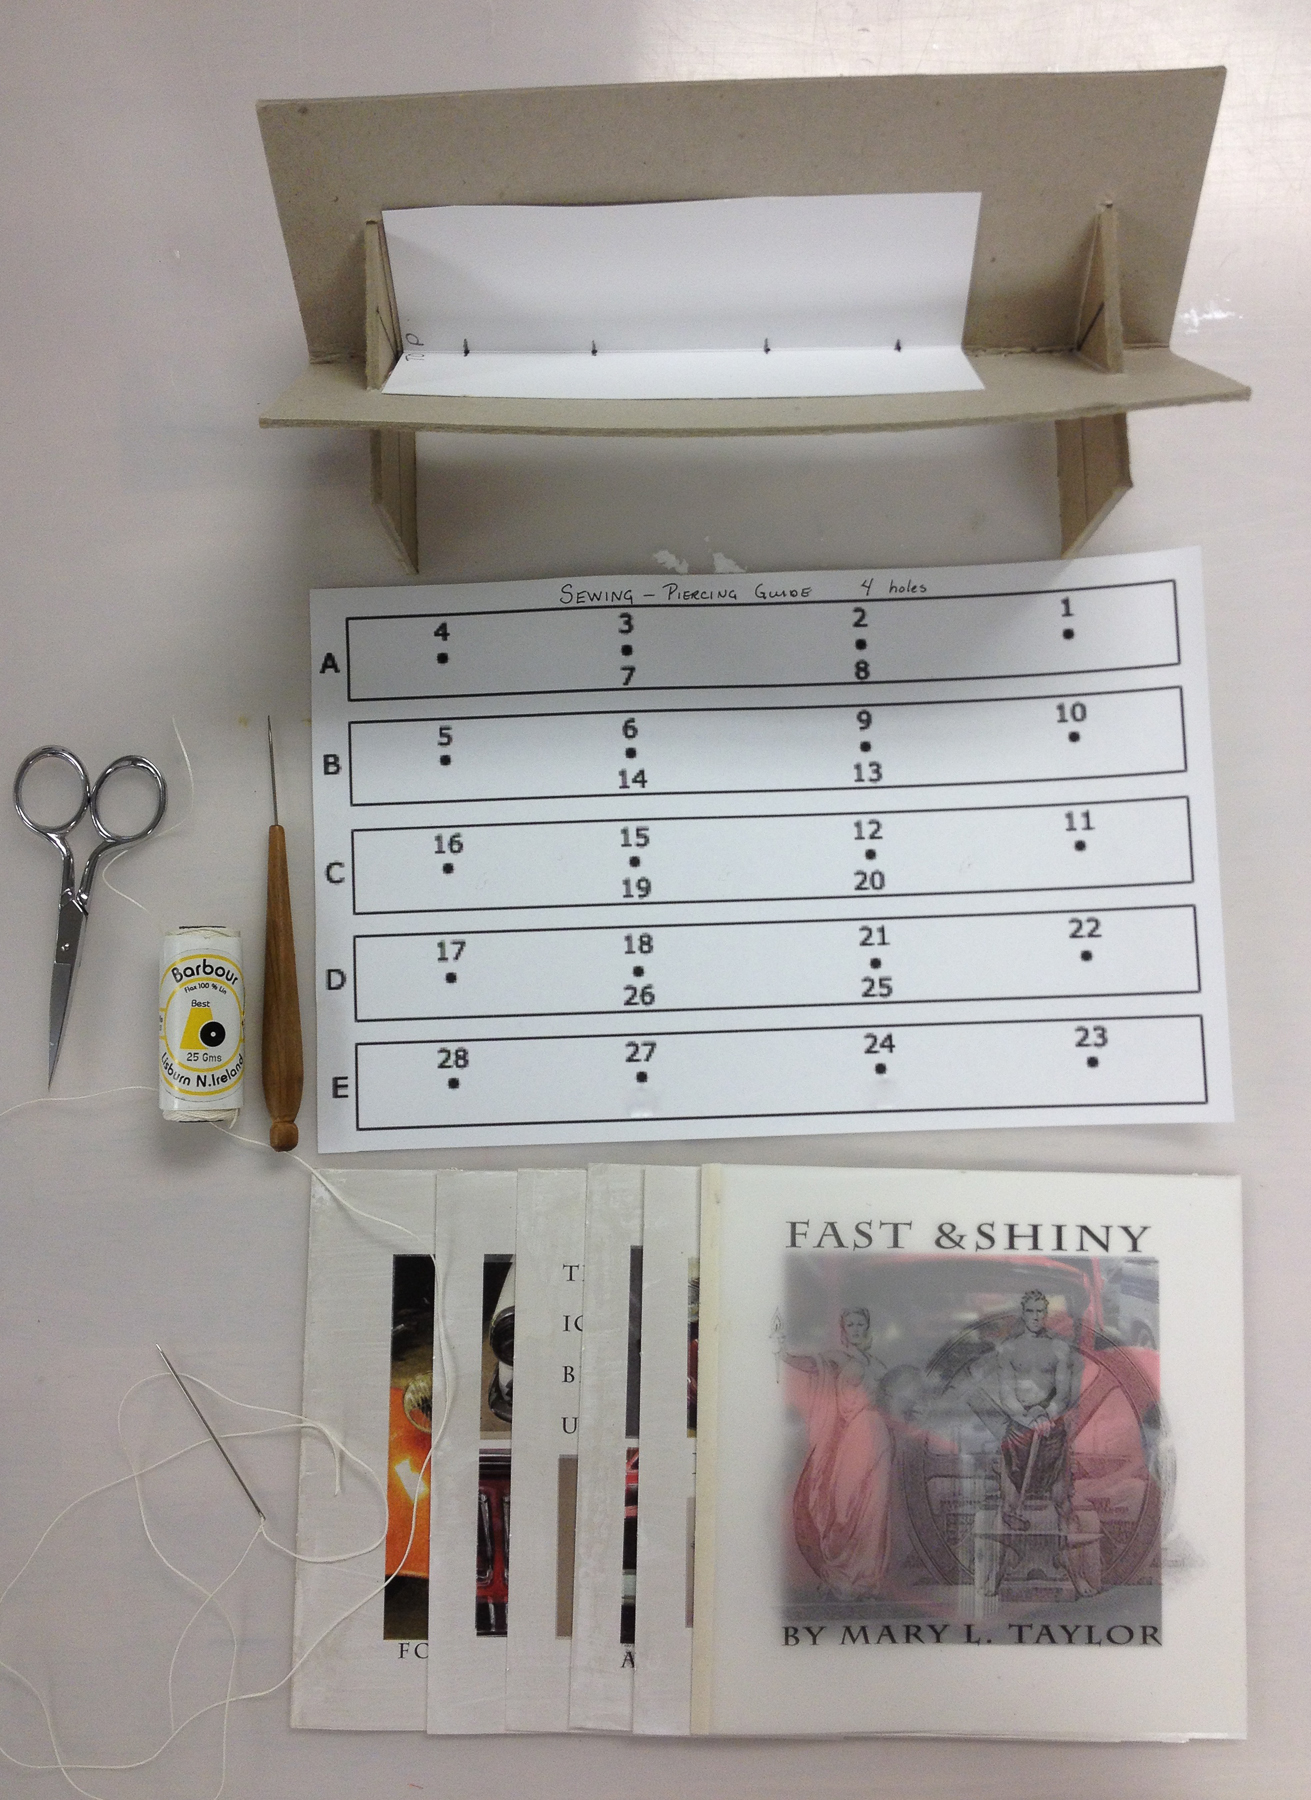
After all the prints were done, next I chose to hinge the pages into folios to be sewn together as signatures. (Each signature was in fact a single folio). I used a mixture of pva and wheat paste to glue thin strips of long fibered (strong) kozo paper to hinge the single pages into folios. Once the folios were hinged they are sewn together with No.18 linen cord (thread) creating a nice book block with more substance than the original Blurb printed book. The added bulk came from the strips of kozo, the paste and the linen cord used in sewing.
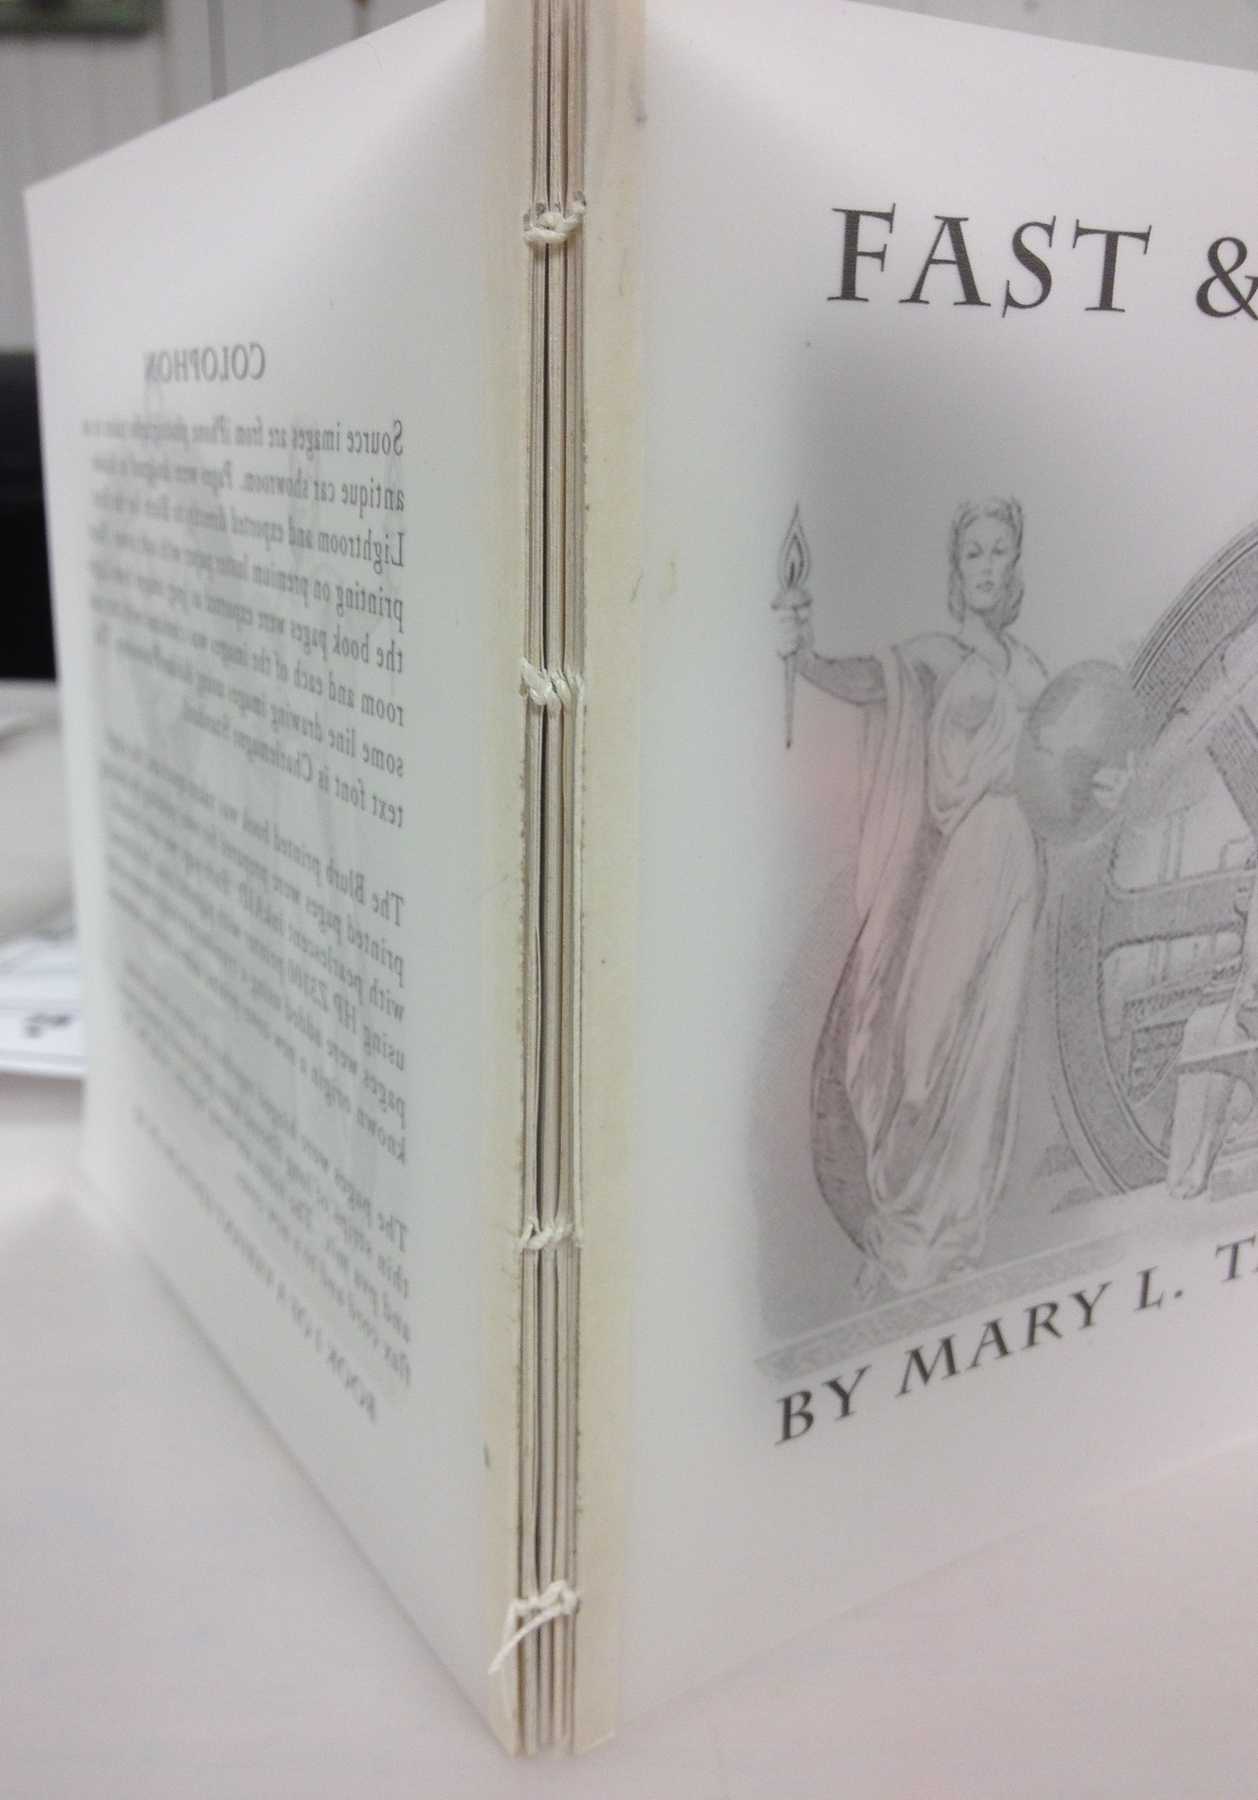
The sewn book block is ready for covers.
The covers were restyled and printed onto a custom substrate made from spun-bonded polyester, textured with thick acrylic gel medium, and coated with the pearly inkAID™ for printing. The new covers have the weight and flexibility of leather but don’t look at all like leather. The covers are attached to the book block with decorative end papers using permanent double sided acid free tapes. The decorative end papers were made by scanning a piece of very delicate marbled paper and printing the wild marbled paper image on to a stronger sheet of paper.